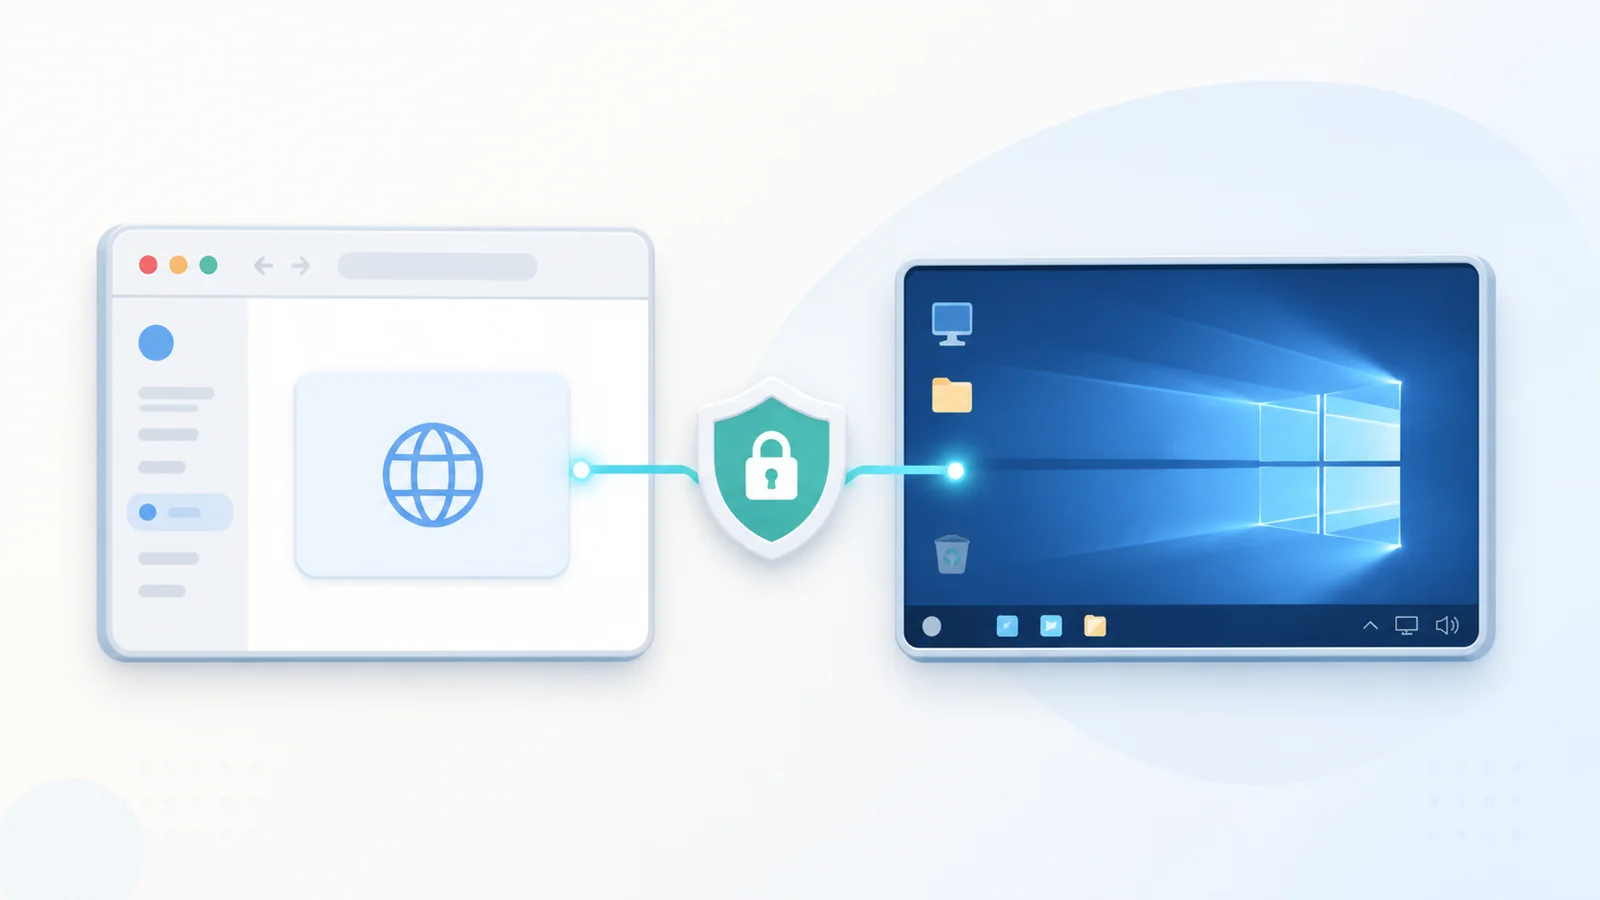
Browser access begins with information supplied by the organization that owns the remote environment. A user needs the exact portal URL, an approved identity, an assigned resource, and a supported desktop browser. This independent guide does not supply any of those items and never asks for a password.
Identify the real organizational portal
A Remote Desktop Services web client is not a universal public login page. Each deployment has its own address and publishes its own collection of desktops or RemoteApps. Obtain that address from an administrator, internal documentation, or another trusted organizational channel. Do not assume that a search result belongs to the organization you intend to reach.
Read the full hostname, not only the page title or logo. Confirm HTTPS, inspect certificate warnings, and be cautious when a message asks you to follow a replacement link. Our Remote Desktop Web Client overview explains why the public page is only the first component in a longer managed connection path.
Prepare the browser and local computer
Use a current browser supported by the deployment and install operating-system security updates before the session. Browser support can change, so verify current Microsoft documentation and local IT policy rather than relying on an old compatibility list. A normal desktop or laptop environment is different from a mobile browser, kiosk, or embedded web view.
Close unrelated sensitive pages if the computer is shared. Avoid saving organizational passwords in a profile that other people can open. Private browsing can reduce leftover local state, but it may also restrict browser features, identity integration, or input methods. Choose a mode that the administrator has tested.
Understand the resource workspace
After sign-in, the page should display only resources assigned to the current identity. A tile can represent a full Windows desktop or an individual RemoteApp. The list is produced by publication and authorization settings; the browser cannot add a missing server by guessing its name.
If the workspace is empty, record which account and portal were used, then ask the administrator to verify collection assignments and resource publication. Repeatedly signing out, clearing every browser setting, or trying unrelated accounts can obscure the original evidence without correcting the assignment.
Review local-resource permissions before launch
A launch can ask whether the remote session may use local capabilities such as clipboard, audio, printing, or file exchange. Treat each permission as a data path. Approve it only when the task requires it and organizational policy allows it. A remote application rarely needs every available local capability.
Browser permission and RDS policy are separate controls. The browser may allow a feature that the administrator blocks, or the administrator may publish a feature that the browser cannot provide. When a control is unavailable, determine which layer owns it instead of weakening unrelated security settings.
Enter the expected identity format
An account may need a domain-qualified username, a user principal name, or another format defined by the organization. Use the exact format supplied by IT. Guessing between local, domain, and email-style identities can create confusing audit entries or trigger lockout policy.
Never send credentials, one-time codes, or password-reset information to this fan site. If a password has expired or multifactor verification fails, use the official identity recovery process. The web client cannot override an identity provider or grant a user Remote Desktop sign-in rights.
Work inside the browser boundary
Once the desktop opens, the applications run remotely even though the pixels appear in a local tab. Browser zoom, remote display scaling, and Windows application scaling are different controls. Adjust one at a time so text size and pointer alignment remain predictable.
Keyboard shortcuts can be handled by the local browser, the local operating system, or the remote Windows session. Full-screen mode may change routing. Learn the approved alternative shortcuts for the deployment instead of repeatedly pressing a combination that activates the wrong environment.
Finish the session and report useful evidence
Windows sign-out closes applications and releases the session according to policy. Closing a browser tab usually removes the visible connection but can leave the remote session disconnected. Use disconnect only when work must remain open and the organization permits a later reconnection.
When reporting a failure, include the time, portal hostname, browser and operating system, resource name, visible error, and the last successful stage. Remove private information from screenshots and logs. A concise stage description is more useful than a list of random settings already changed.
Browser access readiness checklist
- Portal URL came from a trusted organizational source.
- HTTPS hostname and certificate match the expected deployment.
- Supported browser and local operating system are current.
- Correct identity format and assigned resource are known.
- Only necessary local-resource permissions are approved.
- User knows whether to sign out or intentionally disconnect.
- Support evidence excludes passwords and other secrets.
Remember
A legitimate session starts from the organization’s verified URL. If the hostname, certificate, branding, or requested information is unexpected, stop before entering credentials and contact the deployment owner.